LOVE IS BLINDS
How to Remove Blinds with Hidden Brackets DIY
When it’s time to update your window treatments, removing blinds with hidden brackets can feel like an intimidating task. Unlike standard mounts, concealed brackets are designed for a sleek, seamless appearance, making it tricky to figure out how they come off.
Why Hidden Brackets Matter in Modern Window Treatments

Hidden brackets are an innovation in window treatments, offering aesthetic and functional benefits. By concealing the mounting hardware, they provide a clean and uncluttered look. However, their very design can make removal slightly challenging if you're unfamiliar with the process. Let’s break it down step by step.
Tools Needed to Safely Remove Blinds with Hidden Brackets

Before you start, gather the following tools to ensure a smooth and damage-free process:
- A flat-head screwdriver or a pry tool
- A step stool or ladder for higher windows
- A flashlight to inspect hard-to-see areas
- A cloth or gloves to protect your hands
- Optional: A partner for extra assistance with larger blinds
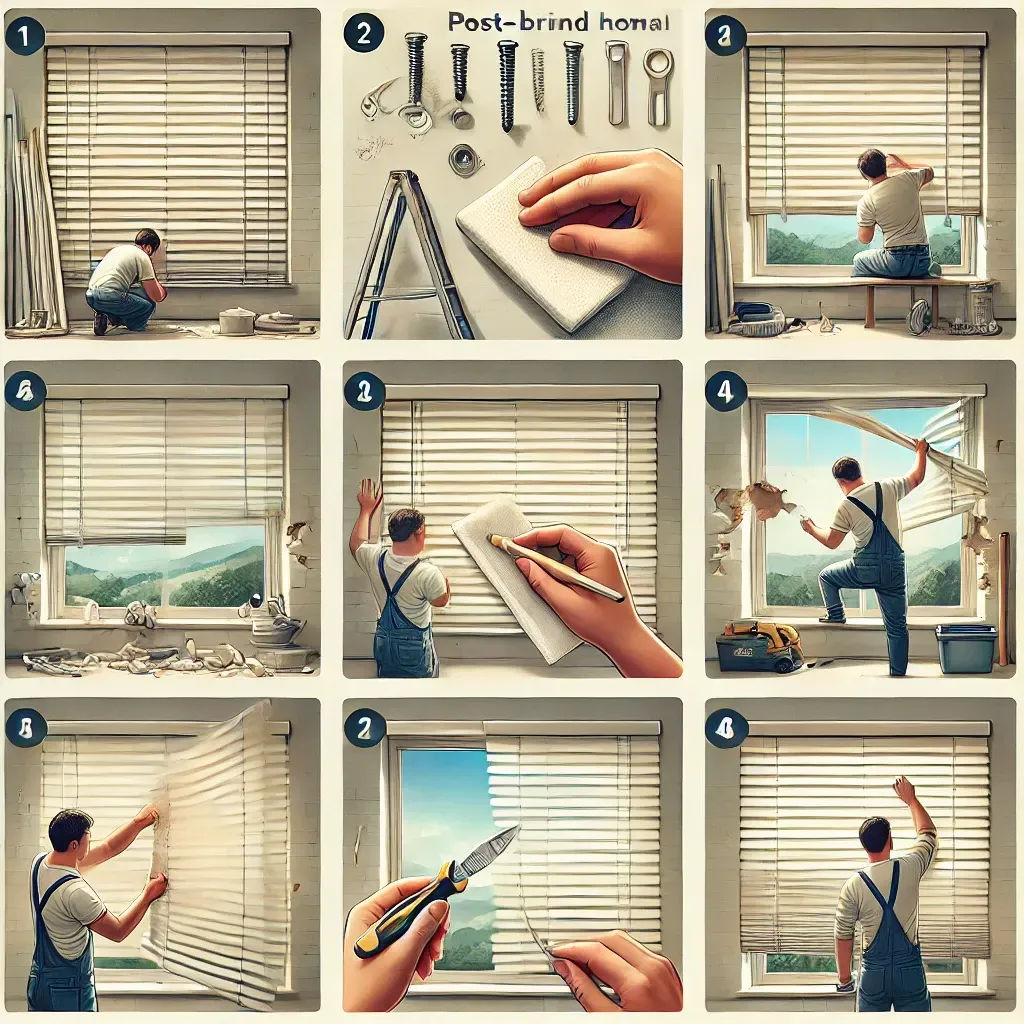
Step-by-Step Instructions to Remove Blinds with Hidden Brackets
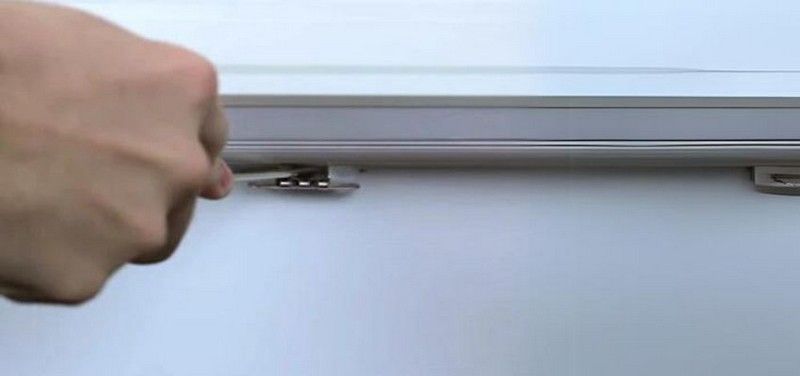
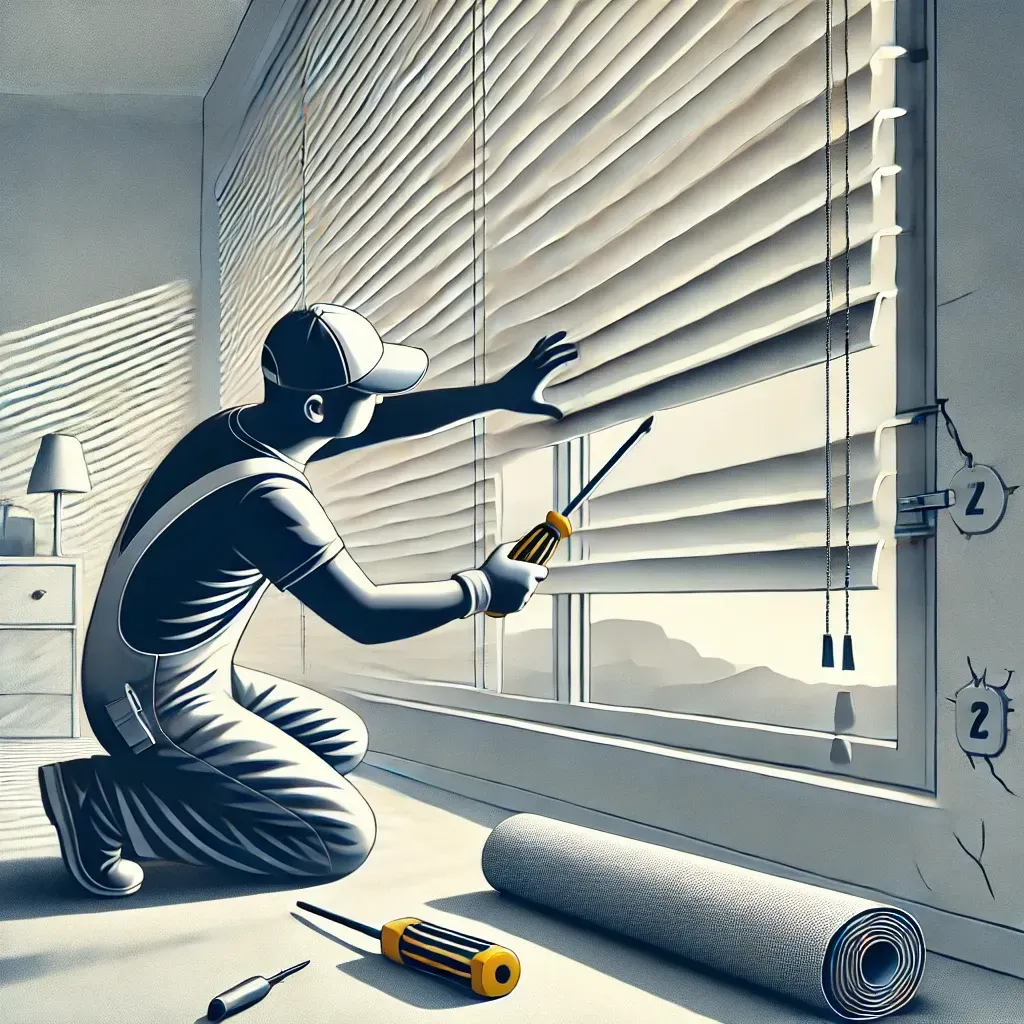
Step 1: Locate the Hidden Brackets
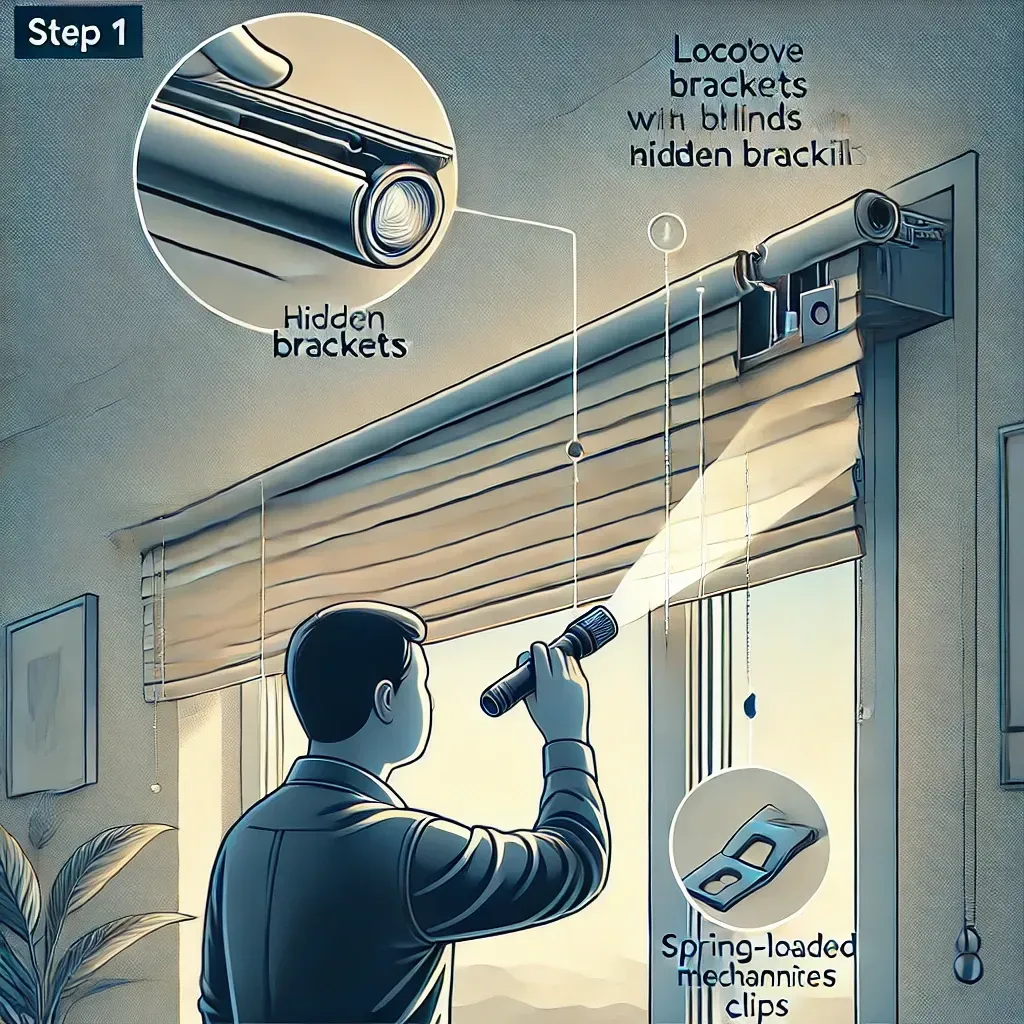
Hidden brackets are often tucked away at the ends of the blind headrail. Use a flashlight if necessary to identify their exact position. Look for small notches or grooves that indicate where the bracket interacts with the rail.
Pro Tip: Some blinds with hidden brackets use spring-loaded mechanisms, while others have clips or levers. Identifying the type of bracket will simplify the process.
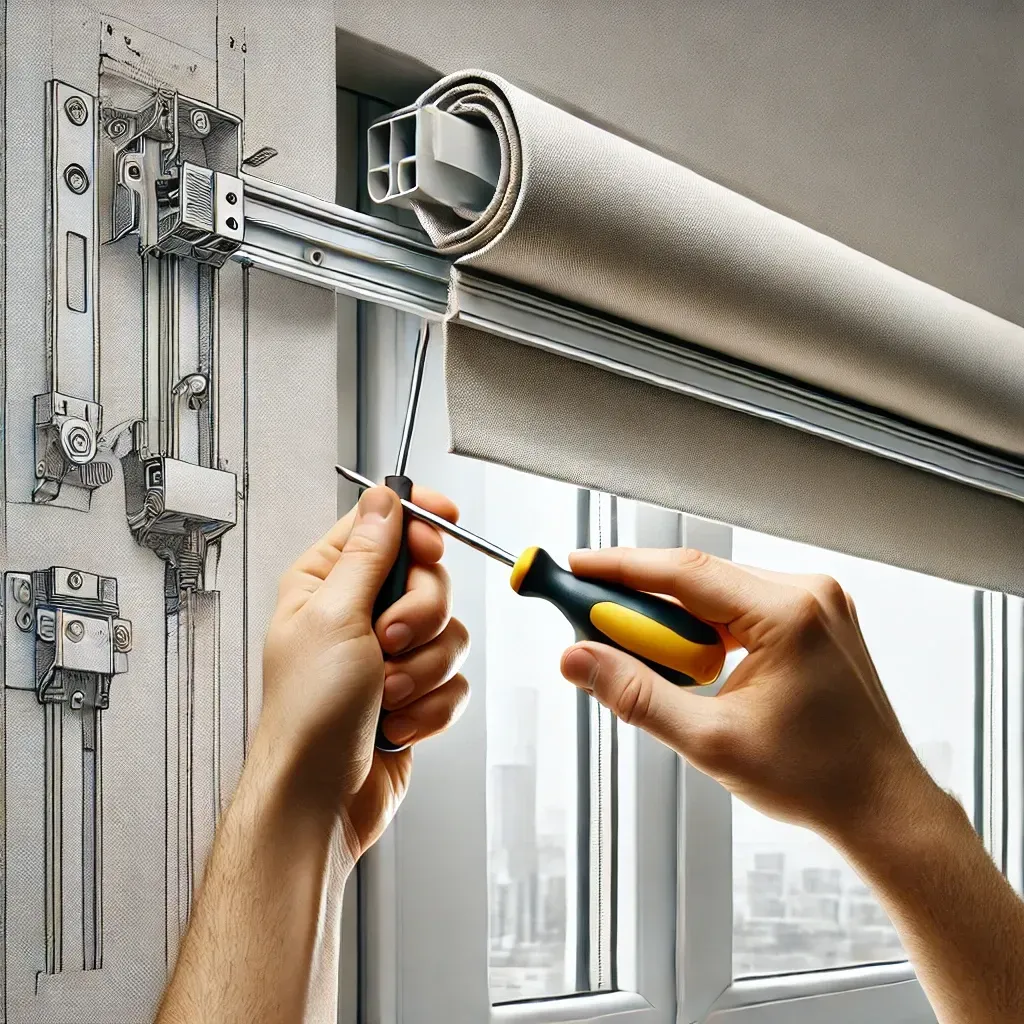
Step 2: Release the Bracket Mechanism
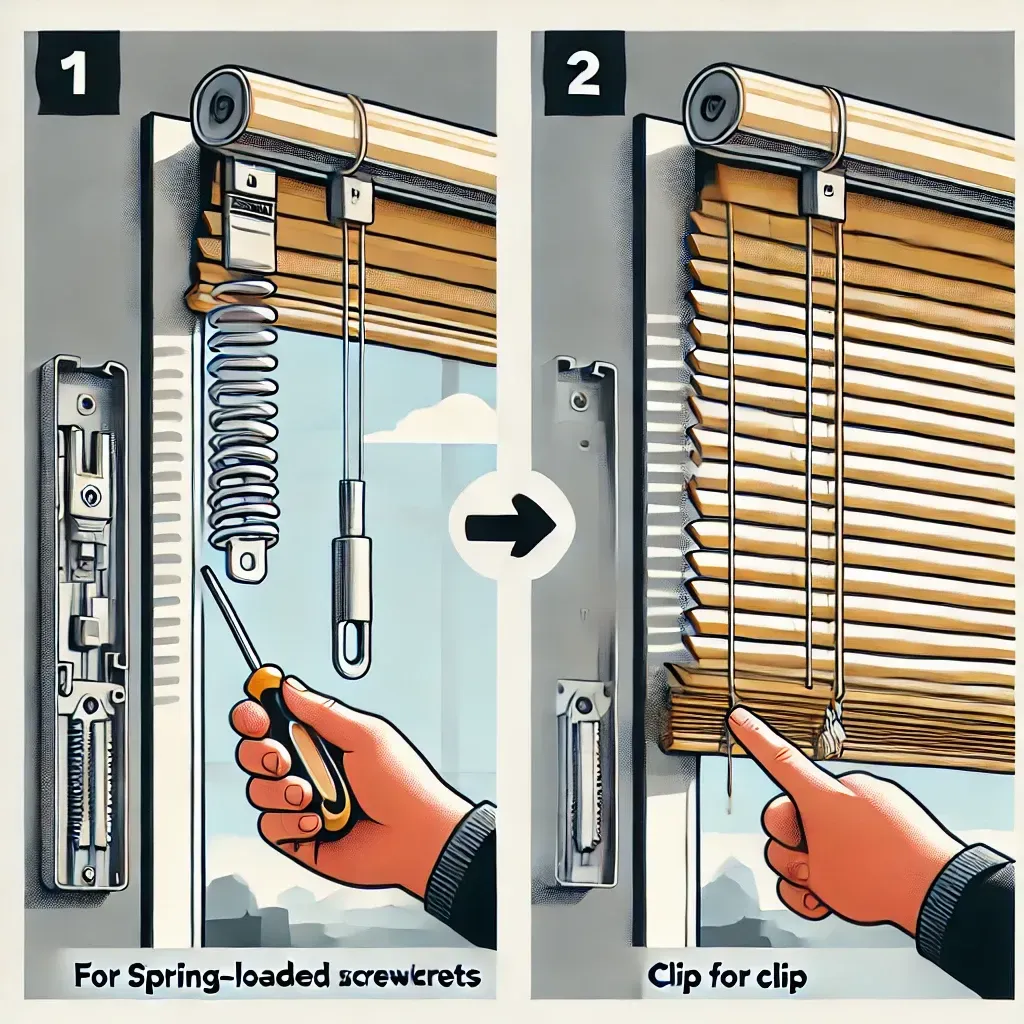
For spring-loaded brackets:
- Insert a flat-head screwdriver between the headrail and the bracket.
- Gently twist the screwdriver to compress the spring and release the rail.
- For clip-based brackets:
- Press down or lift the clip mechanism to free the headrail.
Warning: Avoid forcing the screwdriver or clip too hard to prevent damage to the blinds or brackets.
Step 3: Detach the Blinds Safely

Once the brackets are released, hold the headrail firmly and pull it away from the brackets. If the blinds are heavy, enlist a partner to support the other end. Be cautious to prevent scratches on the wall or window frame.
Common Challenges When Removing Blinds Without Visible Brackets
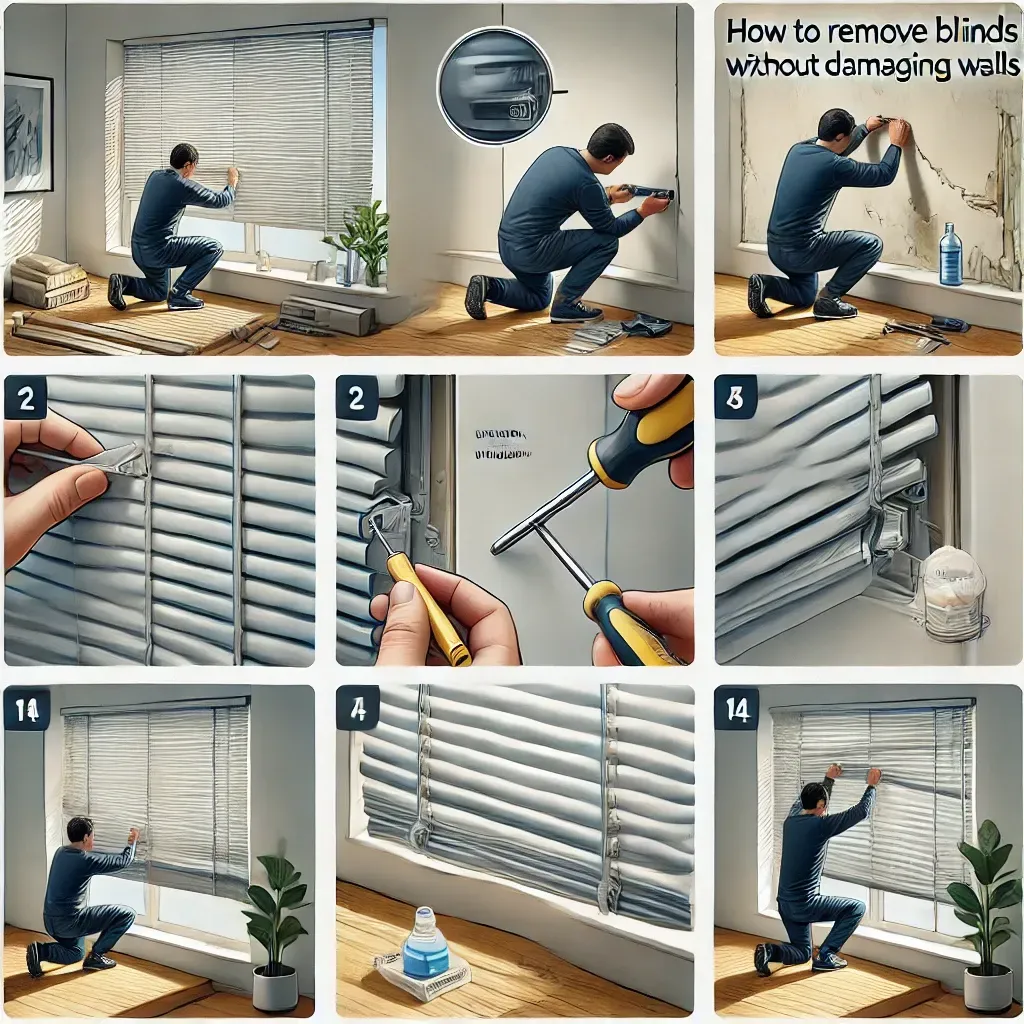
Removing Blinds Without Damaging Walls
A primary concern when uninstalling hidden-bracket blinds is avoiding wall damage. Use a protective cloth between the screwdriver and the wall to minimize marks. Work patiently to avoid accidental scratches.
Handling Stubborn Brackets
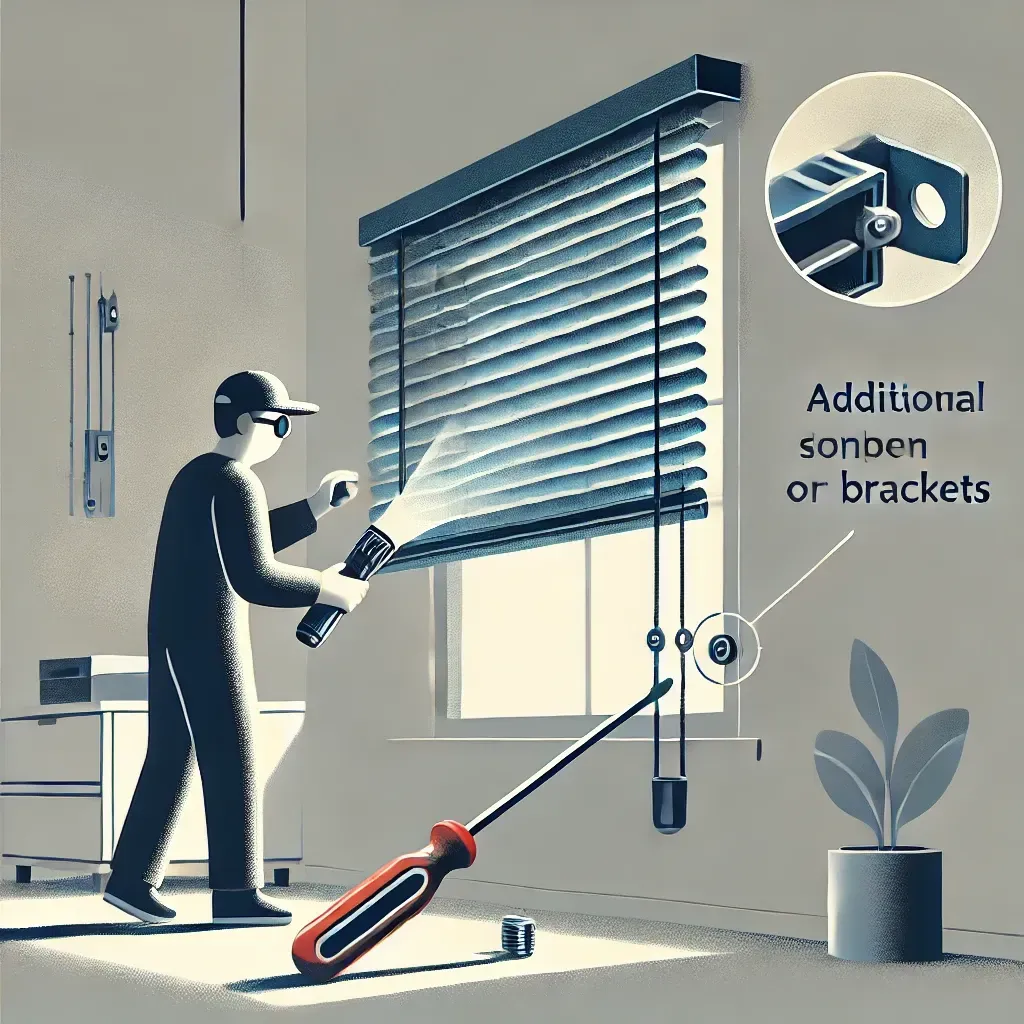
If a bracket refuses to release, check for additional locking mechanisms. Manufacturers sometimes include hidden levers or screws that require loosening before removal.
Why DIY? The Benefits of Tackling Blind Removal Yourself
Removing blinds yourself saves time and money. Professional installation or removal can be costly, and DIY removal provides an opportunity to better understand your window treatments. Plus, with proper guidance, the task is manageable for most homeowners.
How to Remove Blinds with Hidden Brackets Without Damaging Walls
Protecting your walls during blind removal is crucial. Here are some tips to ensure a smooth process:
- Inspect Brackets Thoroughly: Understand the bracket type before starting.
- Use the Right Tools: A flat-head screwdriver is essential, but avoid sharp tools that may puncture or scratch surfaces.
- Apply Gentle Pressure: When prying brackets, ease into the motion instead of forcing them off.
- Clean Residual Adhesives: If your blinds were mounted with adhesive pads, use a mild solvent to remove residue after detaching the blinds.
DIY Guide to Removing Blinds with Hidden or Invisible Brackets
If you’re a visual learner, consider consulting online video tutorials for additional clarity. Most brands, such as Hunter Douglas or Levolor, offer specific guidance tailored to their designs. Knowing your blind’s brand and model can simplify the removal process significantly.
What’s Next After Blind Removal?
Once your blinds are removed, you may need to:
- Clean the window area before installing new treatments.
- Patch up small holes left by screws or adhesive brackets.
- Safely store or recycle the removed blinds.
Pro Tip: If you’re planning to reuse the blinds, store them in a protective cover to prevent dust accumulation.
Conclusion: The Best Way to Take Down Blinds with Concealed Brackets
Removing blinds with hidden brackets may seem daunting, but with the right approach, it’s a straightforward task. By following this guide, you can tackle the project efficiently, avoiding damage to your blinds and walls. Whether you’re replacing your window treatments or moving into a new space, understanding this process ensures a seamless experience.
Need to setup a Repair Appointment?